
Guide
Create a signup sheet
This walkthrough builds one sheet, the Maple Street Fall Picnic, from a blank builder to a public link. The screenshots are the click itself: the control before you use it, then the same control filled in. Numbered marks sit on the picture so they can be moved later without recapturing.
The picnic is Saturday, October 3, 2026, 9:00 AM to 2:00 PM, Eastern Time — New York, at Bryant Park. Volunteers claim a job. Neighbors claim a dish. Guests RSVP on a single card. There is no ticket and no price on this sheet.
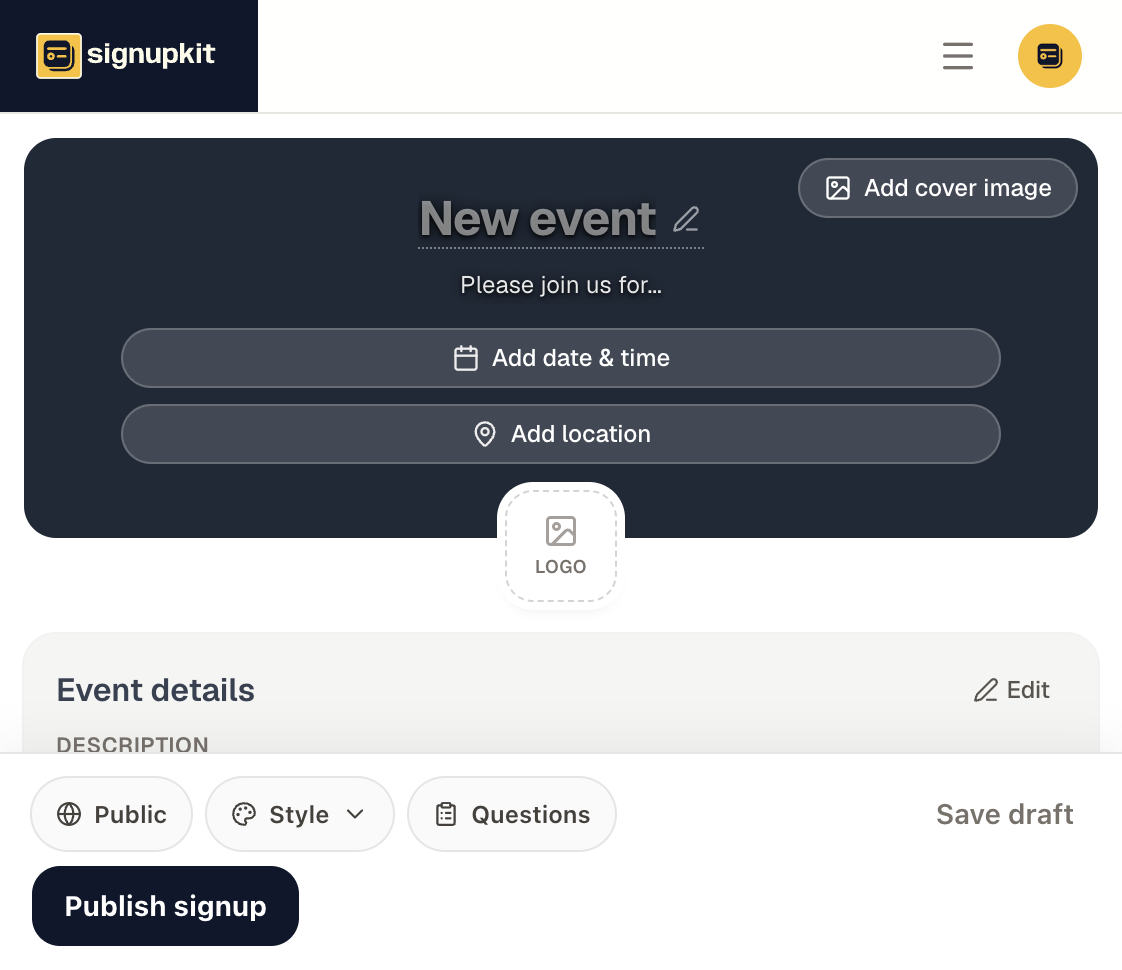
Name the sheet
Start at the title. It is empty until you type. The name is what people see at the top of the public page and in the email subject, so write the event, not a draft label like “test” or “signup 2.”
 1
1 1
1Write the description
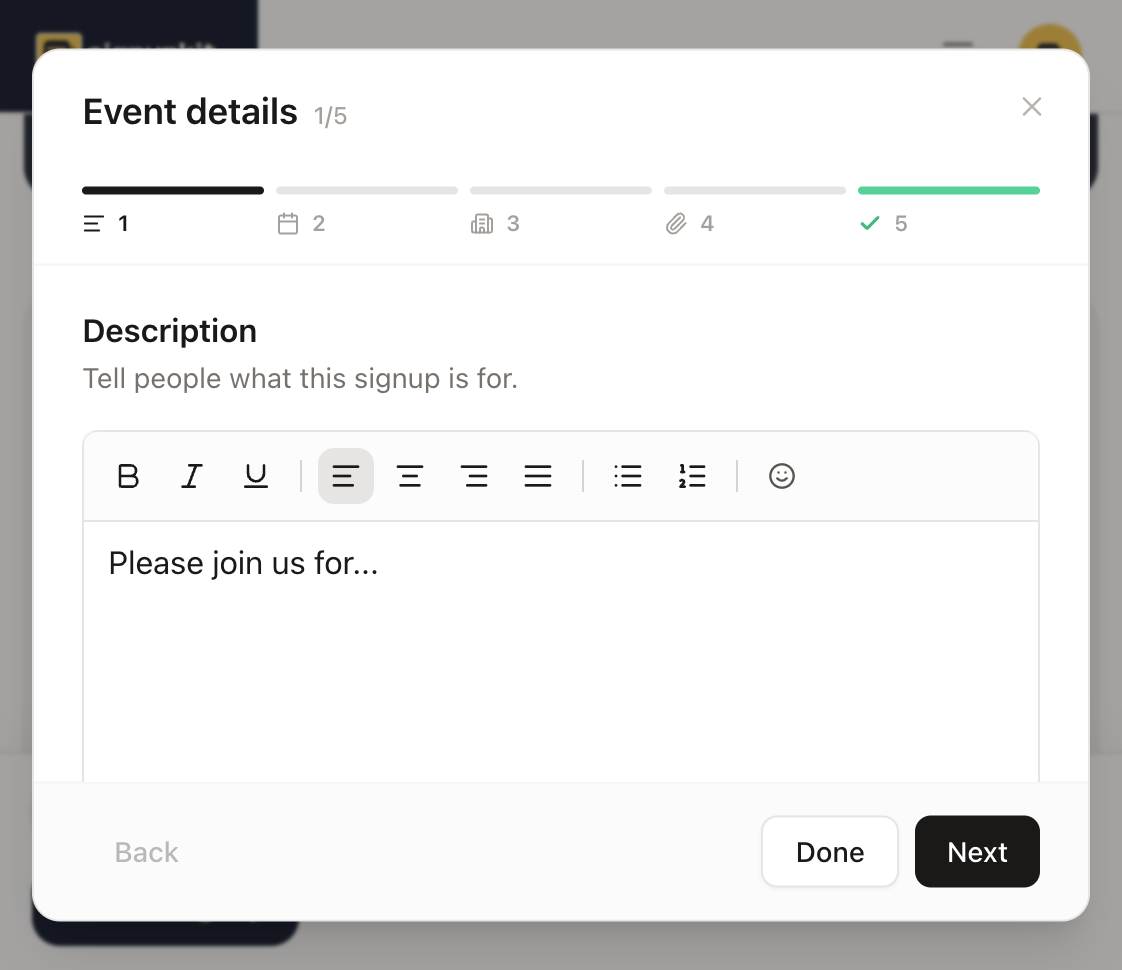
Open the event details and stay on the description step. The box starts empty, with a prompt to say who it is for and what to bring. Replace that with a short note in your own words. For this picnic: the PTA is meeting on the Bryant Park lawn, and people should claim a shift or a dish so the table is not ten bags of chips.
 1
1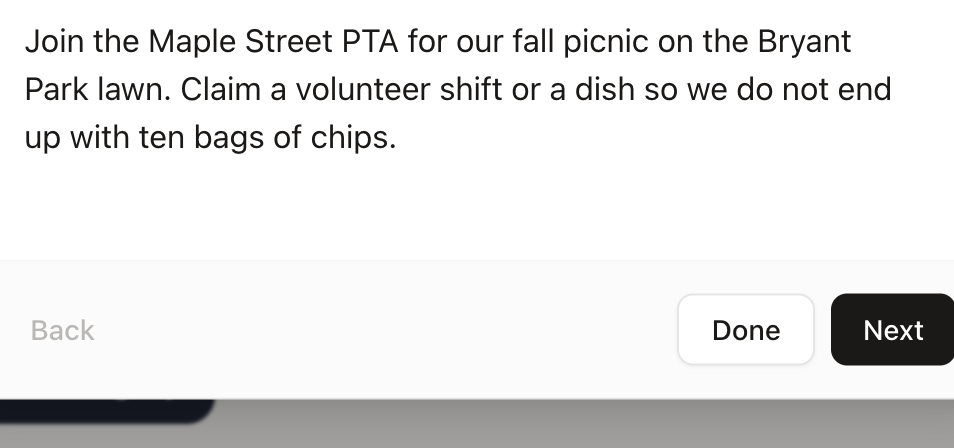 1
1Set the date, time, and timezone
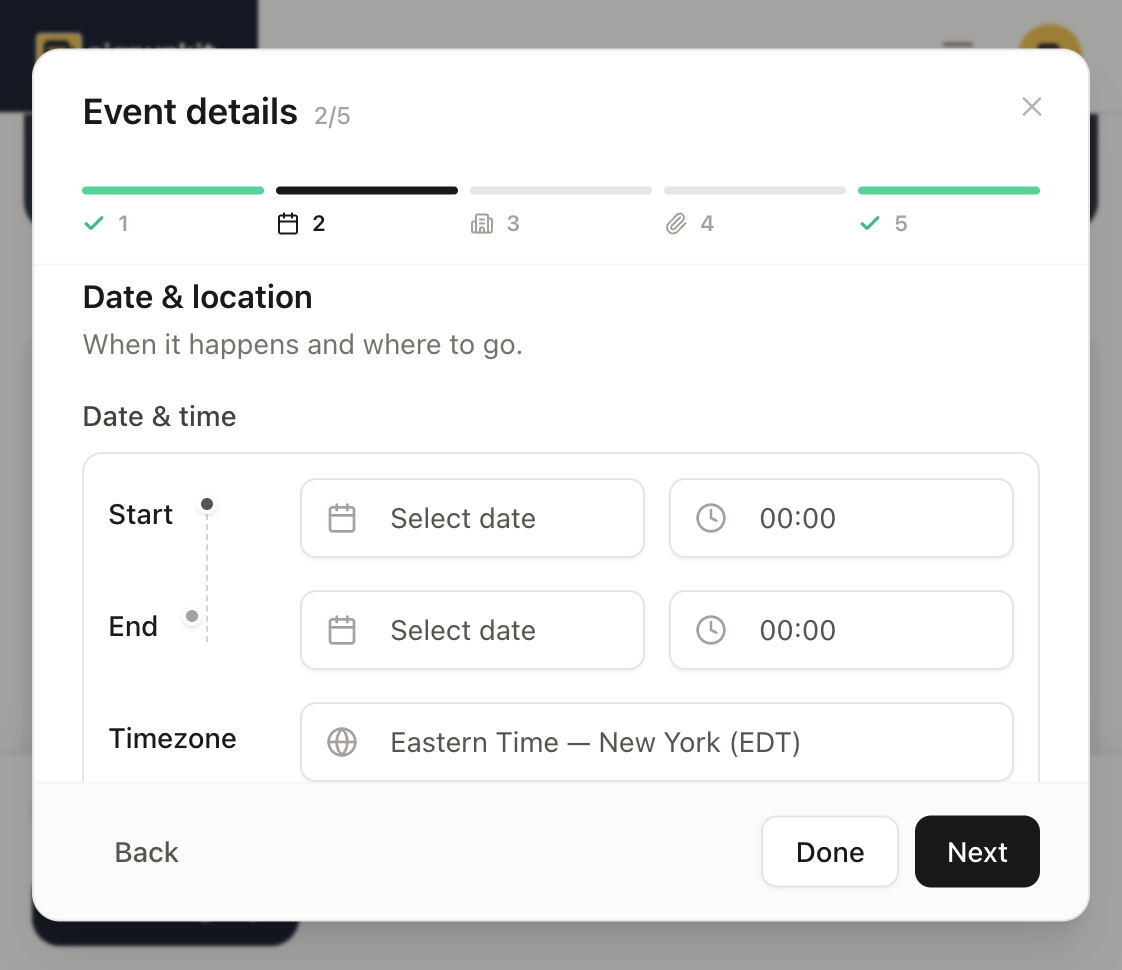
Move to the date and location step. Pick October 3 on the calendar, then set the start to 9:00 AM and the end to 2:00 PM. Open the timezone list and choose Eastern Time — New York. The clock on the sheet, the reminder, and the calendar file all use this timezone. A list that still says Maldives, or any other default, is the wrong zone for this park.
 1
1 1
1Add the location
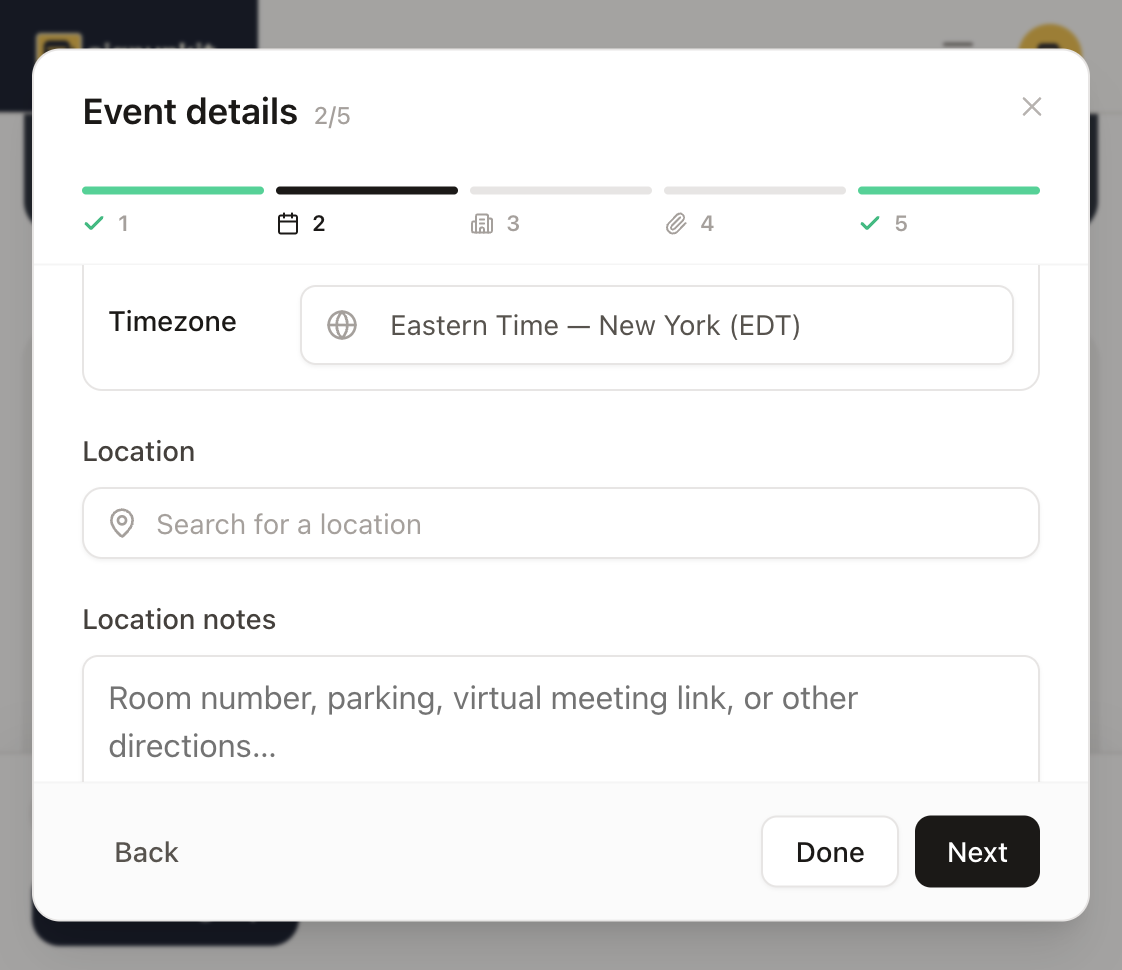
The location field is empty until you search. Type Bryant Park, New York, NY 10018 and keep that full line. A short search that only selects the city replaces the park name with the city, which is not where people should meet. Under it, add the arrival note: enter from 6th Avenue or 42nd Street, and the lawn is in the middle of the park.
 1
1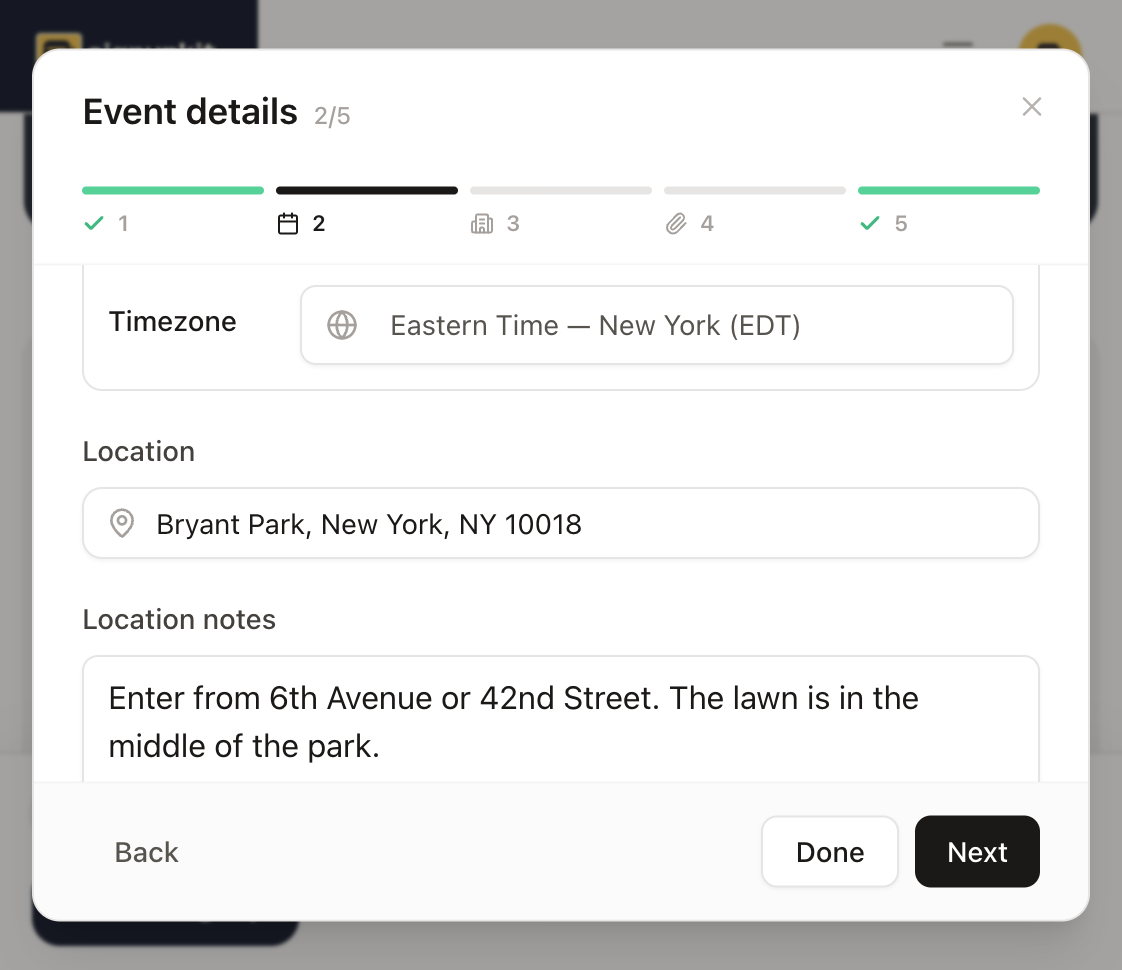 12
12Name the organizer
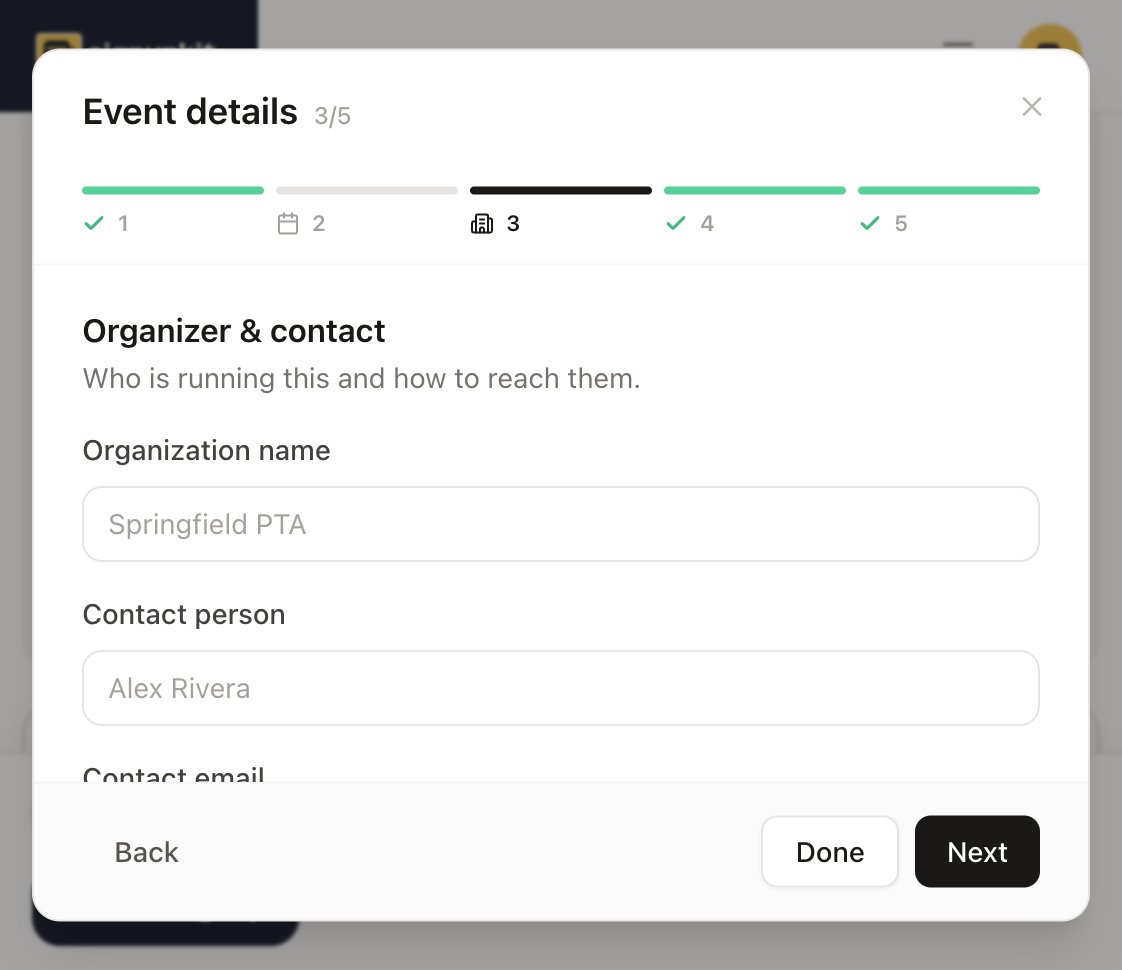
The organizer step starts blank. The gray words are examples, not your event. Type over them: Maple Street PTA, Jordan Lee, hello@signupkit.co, (212) 555-0148. People reply to this address when they have a question about the picnic, so use an inbox someone reads.
 1
1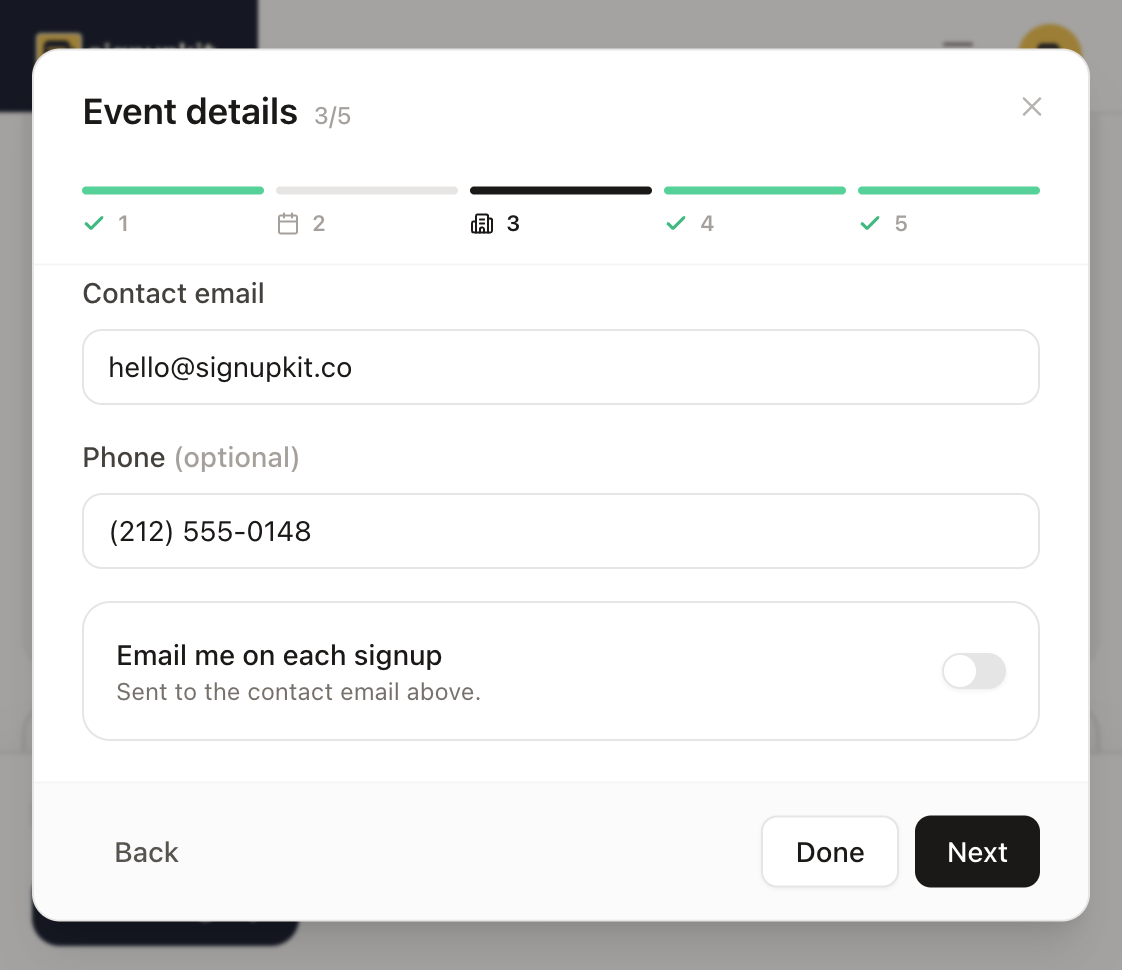 12
12Click Date, then set that card
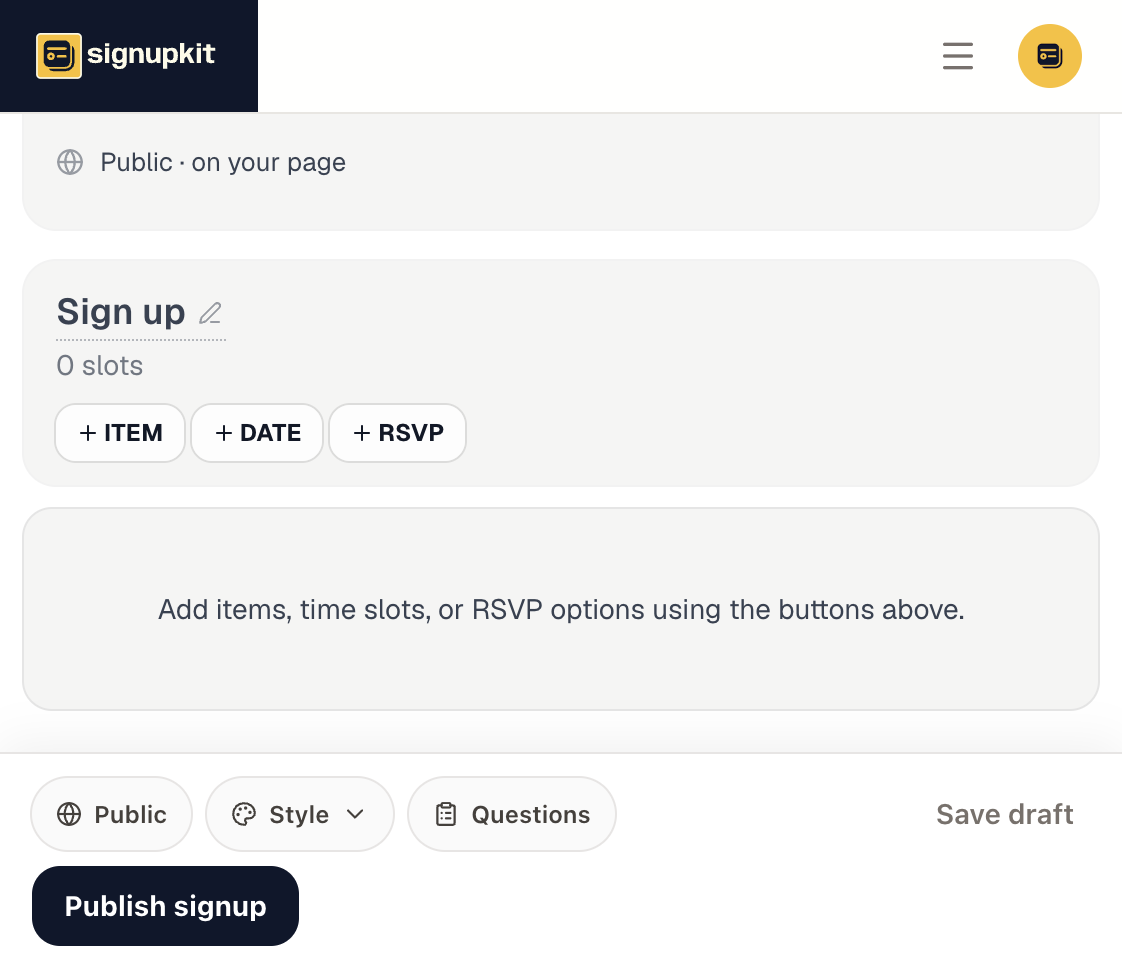
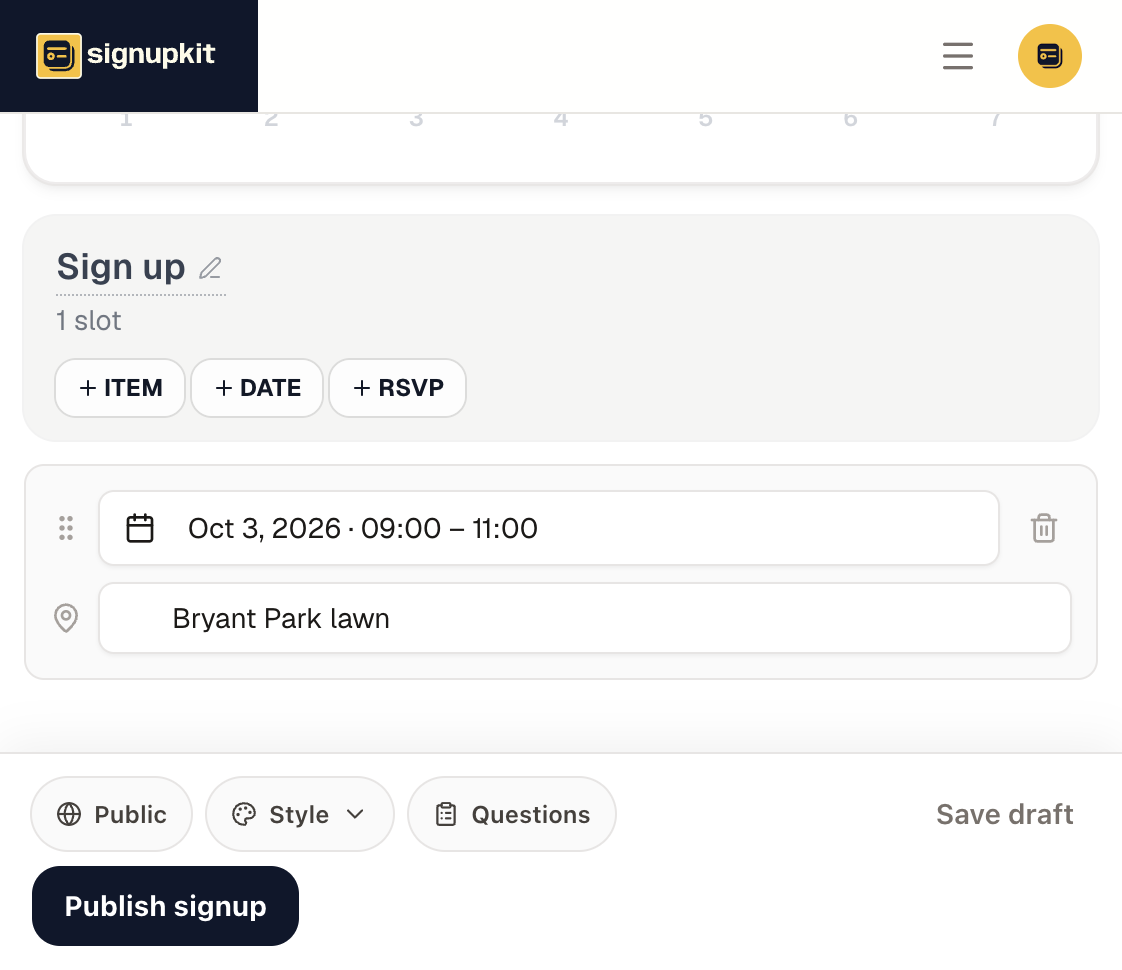
Back on the sheet, the slot row has three buttons: Item, Date, and RSVP. Nothing is under them yet. Click Date. A new card appears that says “Select date range,” with an empty location. The event date does not copy itself onto this card. Open the range, choose October 3, and set 9:00 to 11:00 for the morning shift. The card then reads “Oct 3, 2026 · 09:00 – 11:00.” Put “Bryant Park lawn” on the card if this block happens in one part of the park.
 1
1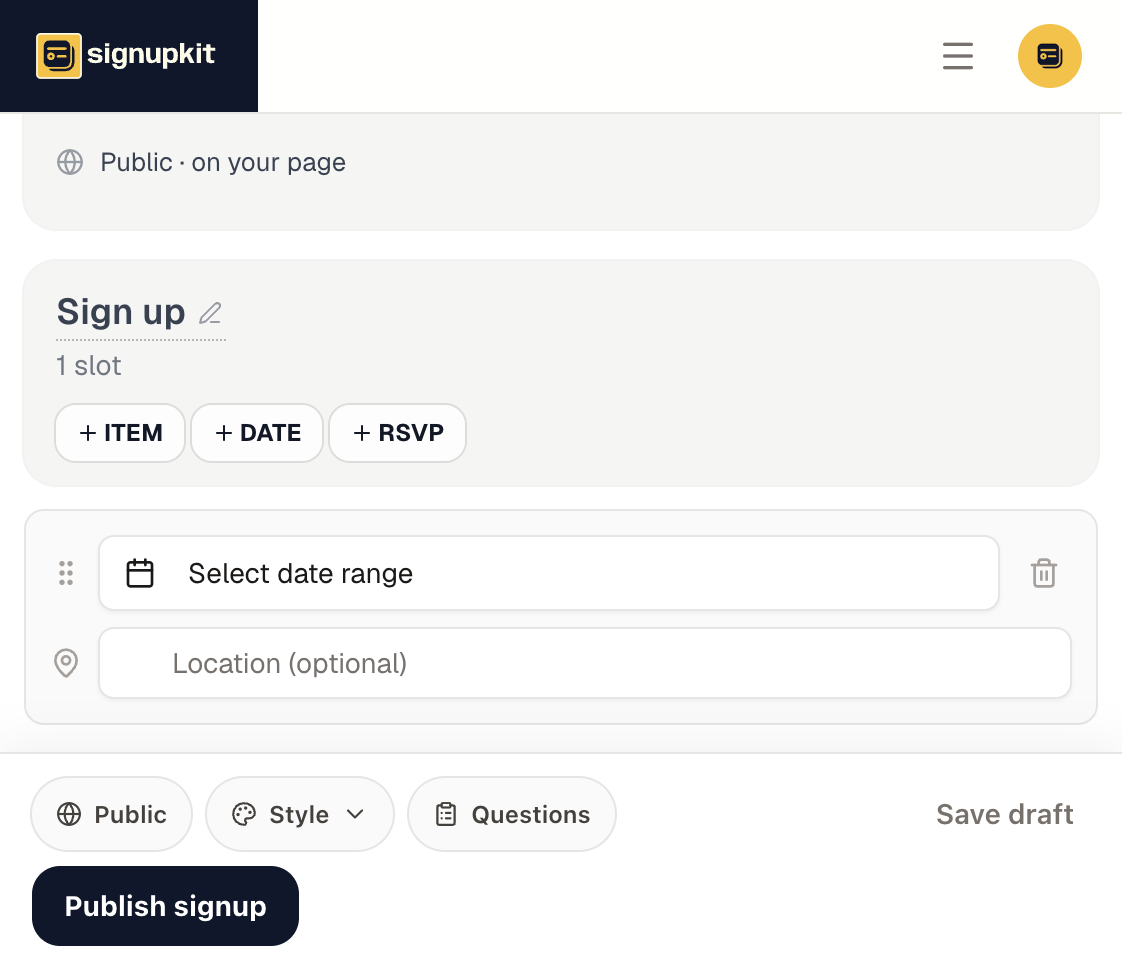 1
1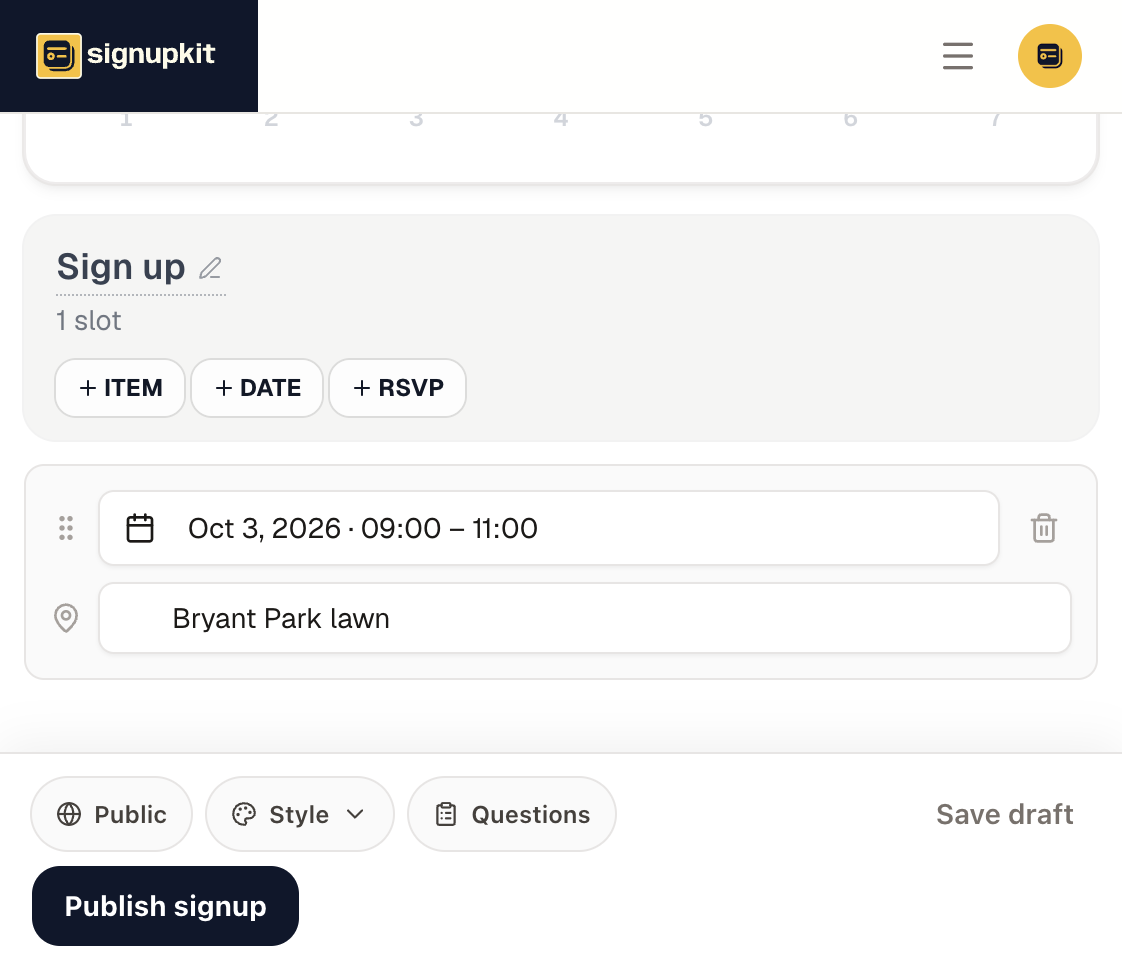 12
12Click Item and name the job
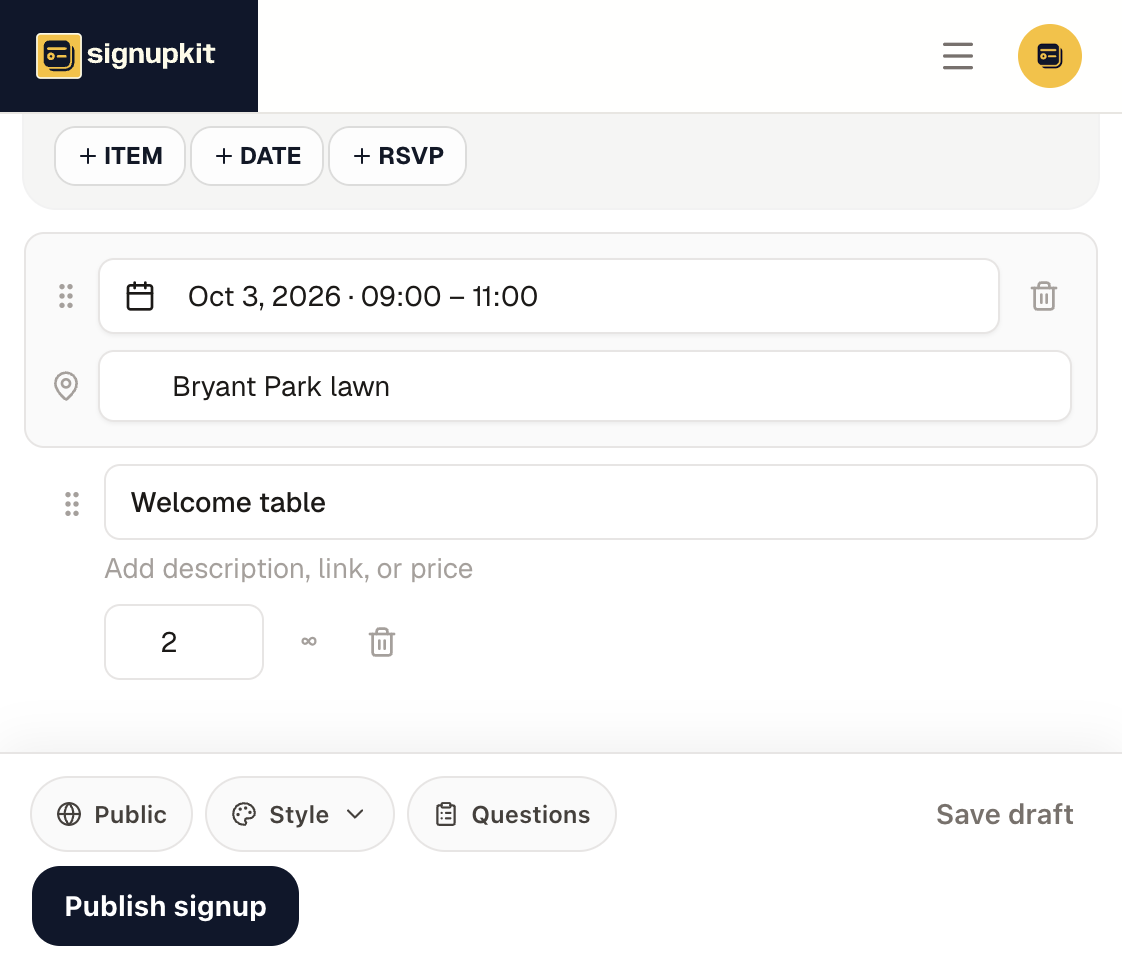
Click Item. A blank row appears under the date card. The title is empty and the quantity is 1. Type the job, not the date. Welcome table needs two people, so set the quantity to 2. Add the other jobs the same way, each as its own card under that date: Main dish for 4, Grill for 3, Cleanup for 4, Side dish for 4.
 1
1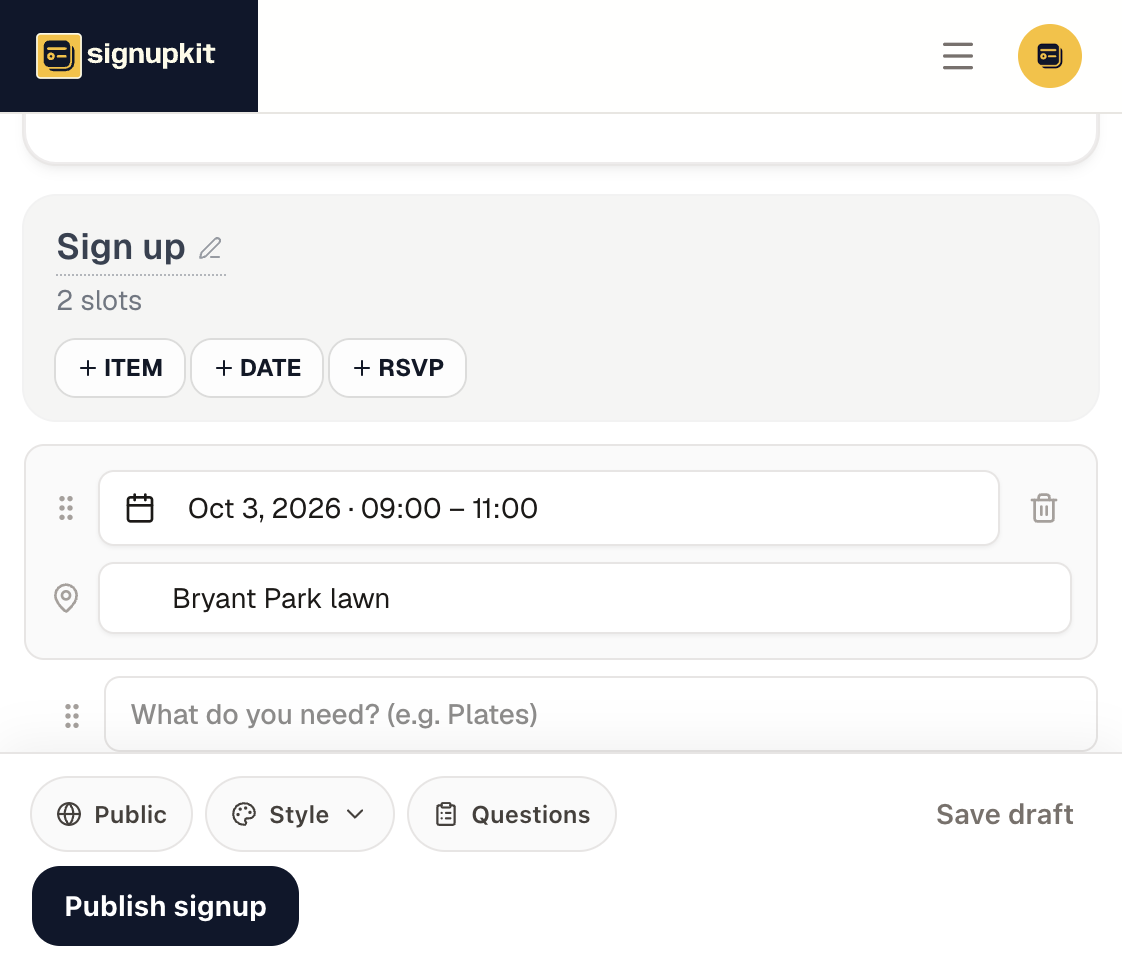 1
1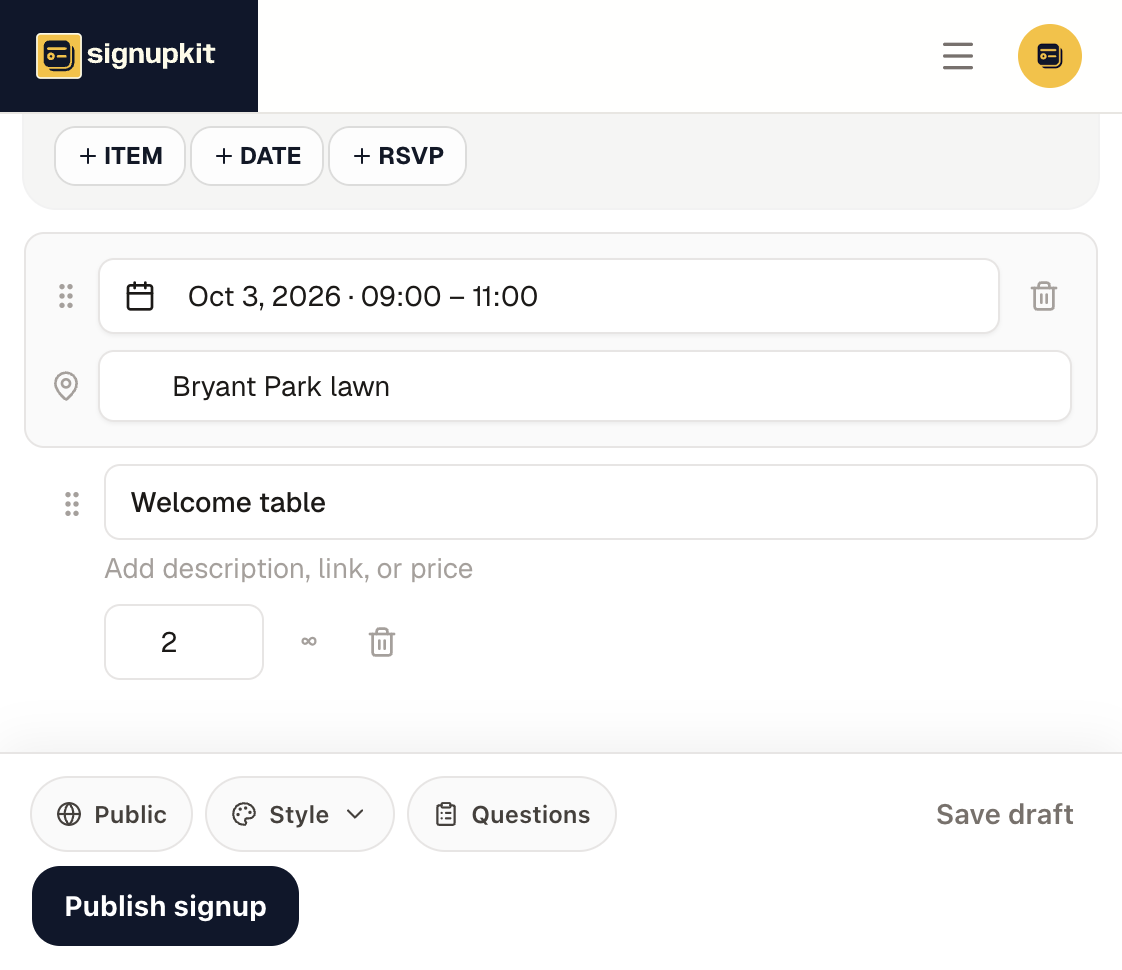 12
12One RSVP card, with a quantity
Click RSVP once. The new card’s label is already “I’m attending,” and the quantity is 1. Leave the label. If you want ten people to say they are coming, change the quantity to 10. That is one row on the public page, and ten people can claim it.
 1
1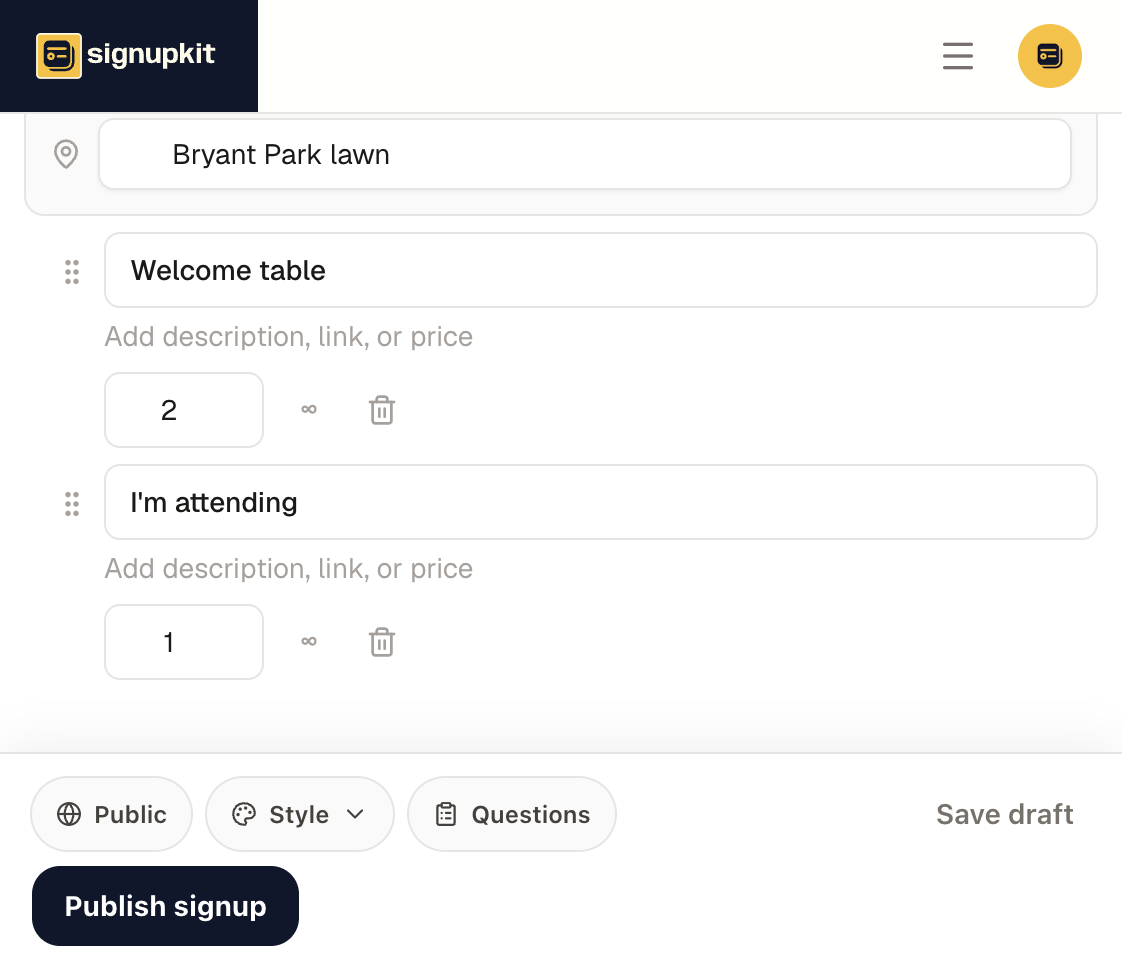 12
12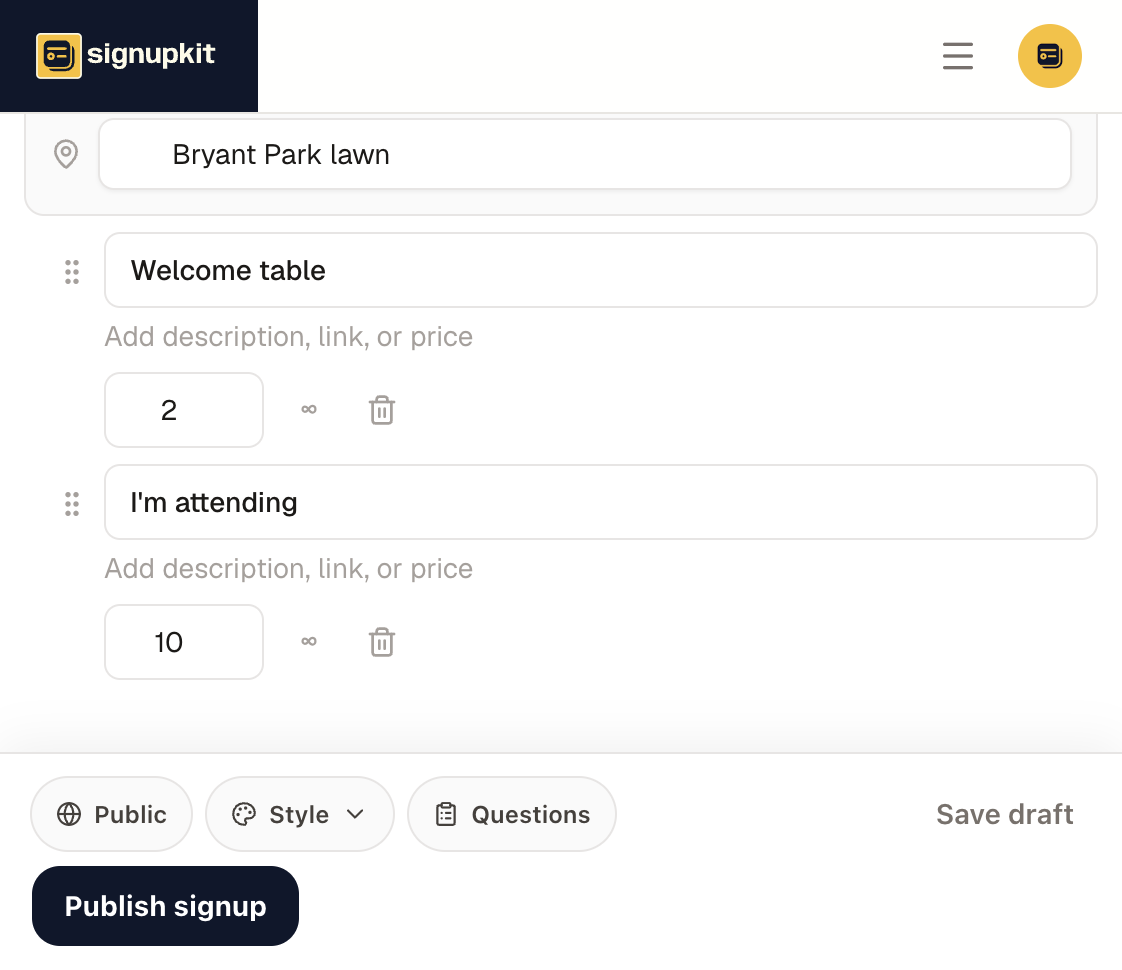 1
1Paste a link on the slot
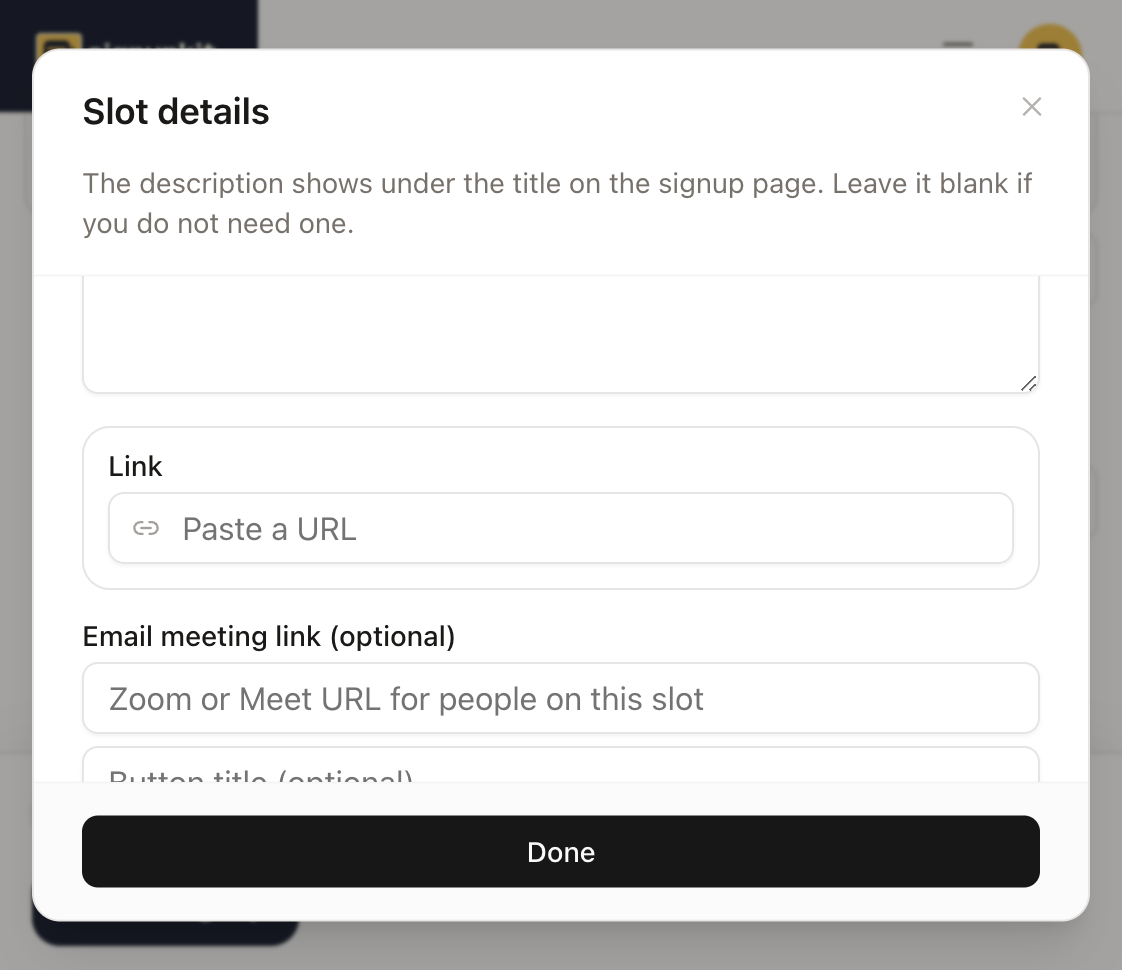
Open the item’s details. The link URL and the link title are both empty. Paste https://www.signupkit.co/potluck-planning-checklist and title it “Picnic planning checklist.” This is the link for that dish, not a link for the whole event. Leave the price alone. This sheet does not sell tickets.
 1
1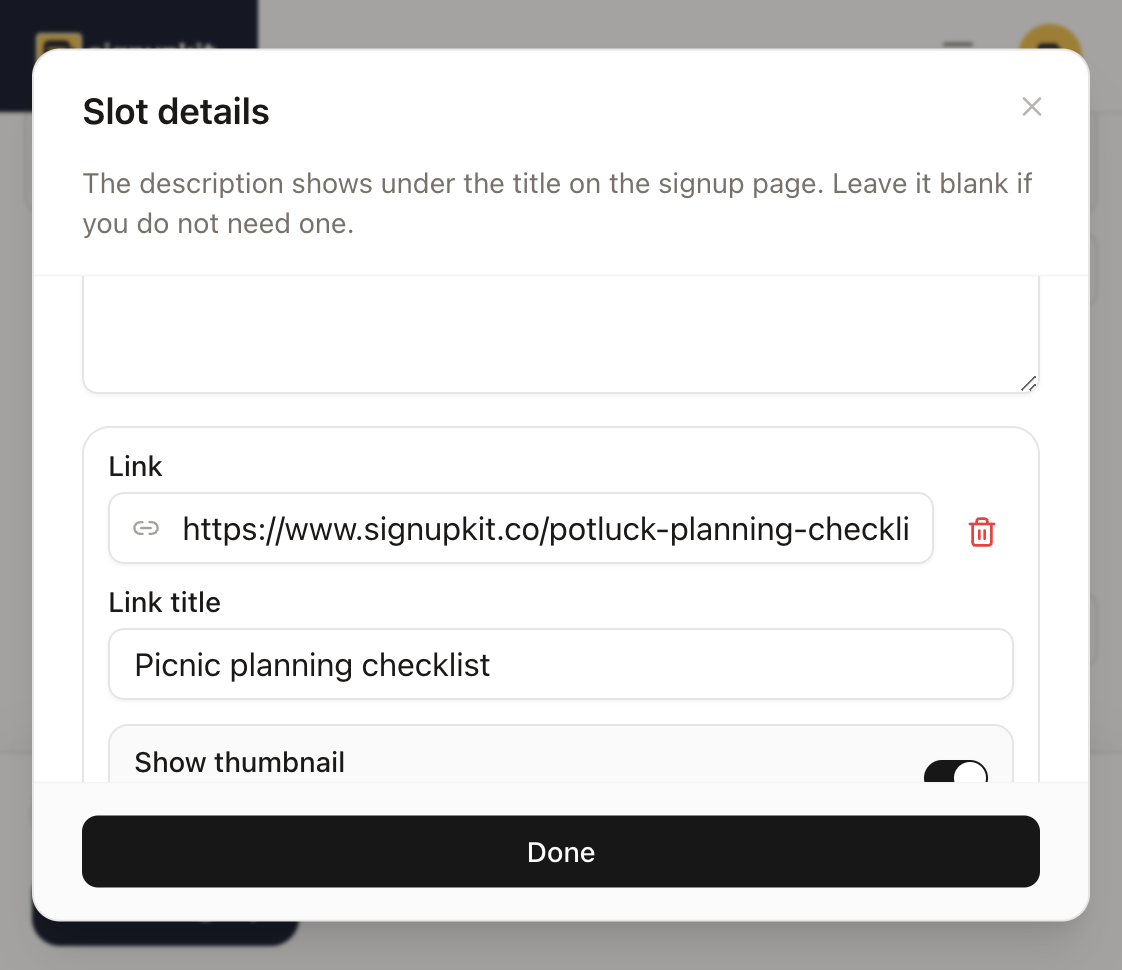 12
12Paste the featured link
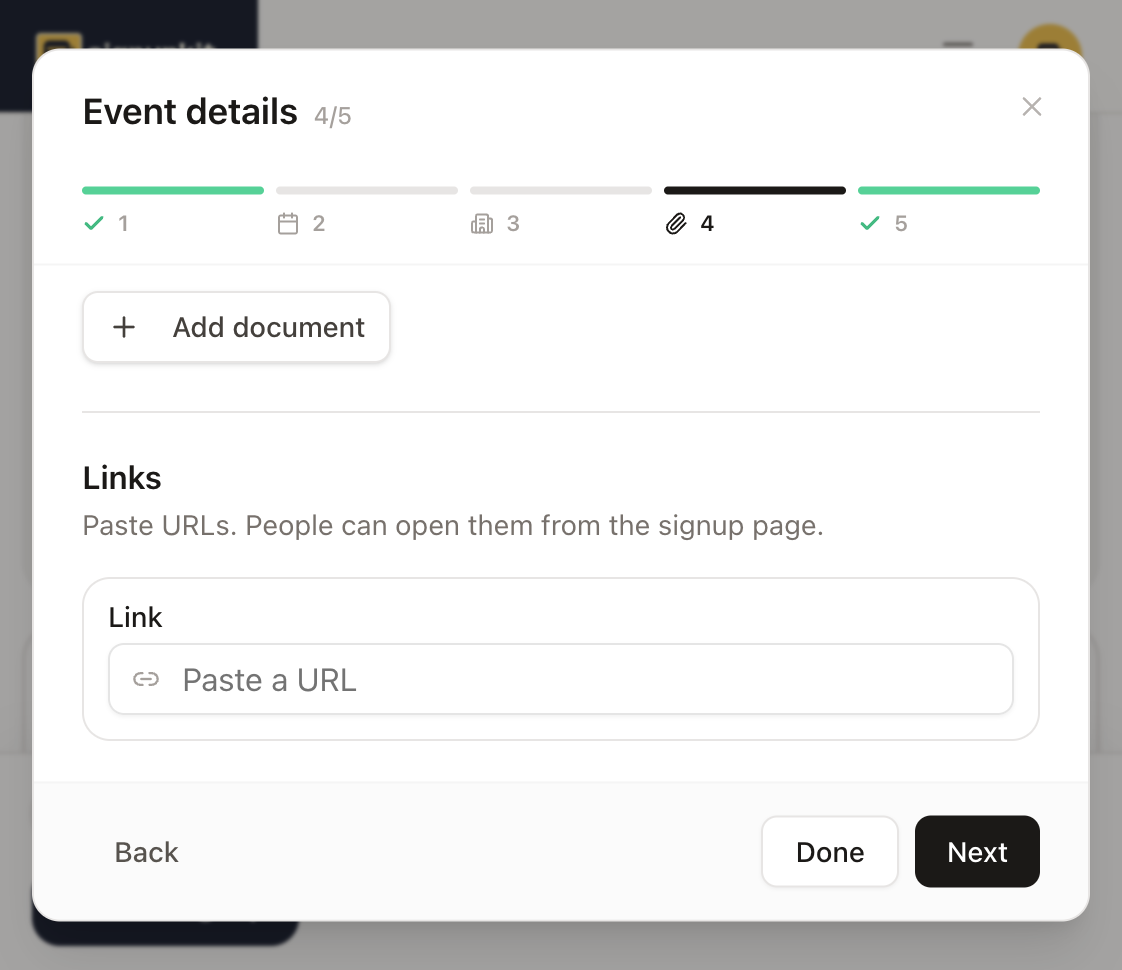
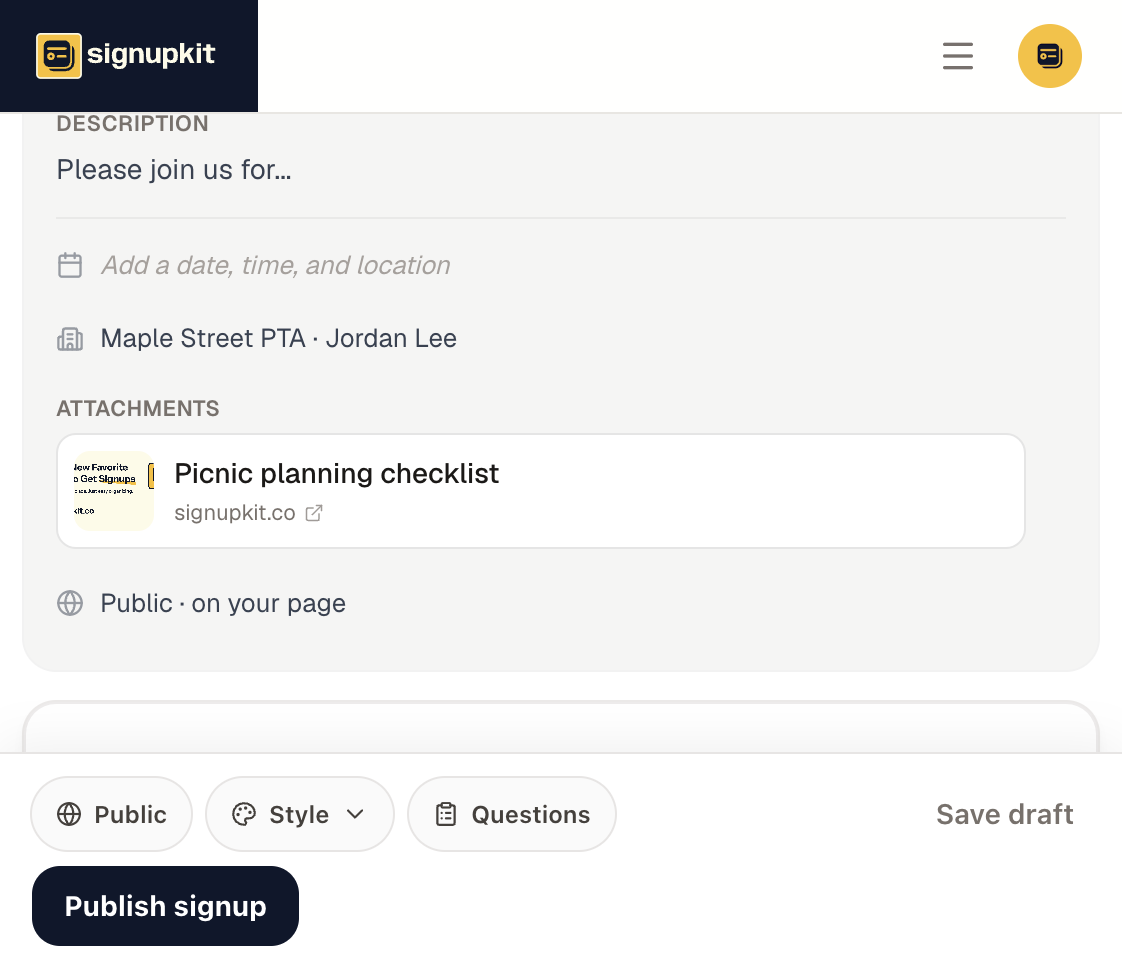
Open Attachments in the event details and scroll to Links. That URL is empty. Paste the checklist here if you want it on the event, above the slots, rather than only on one dish. A slot link and this event link are different fields. Filling one does not fill the other.
 1
1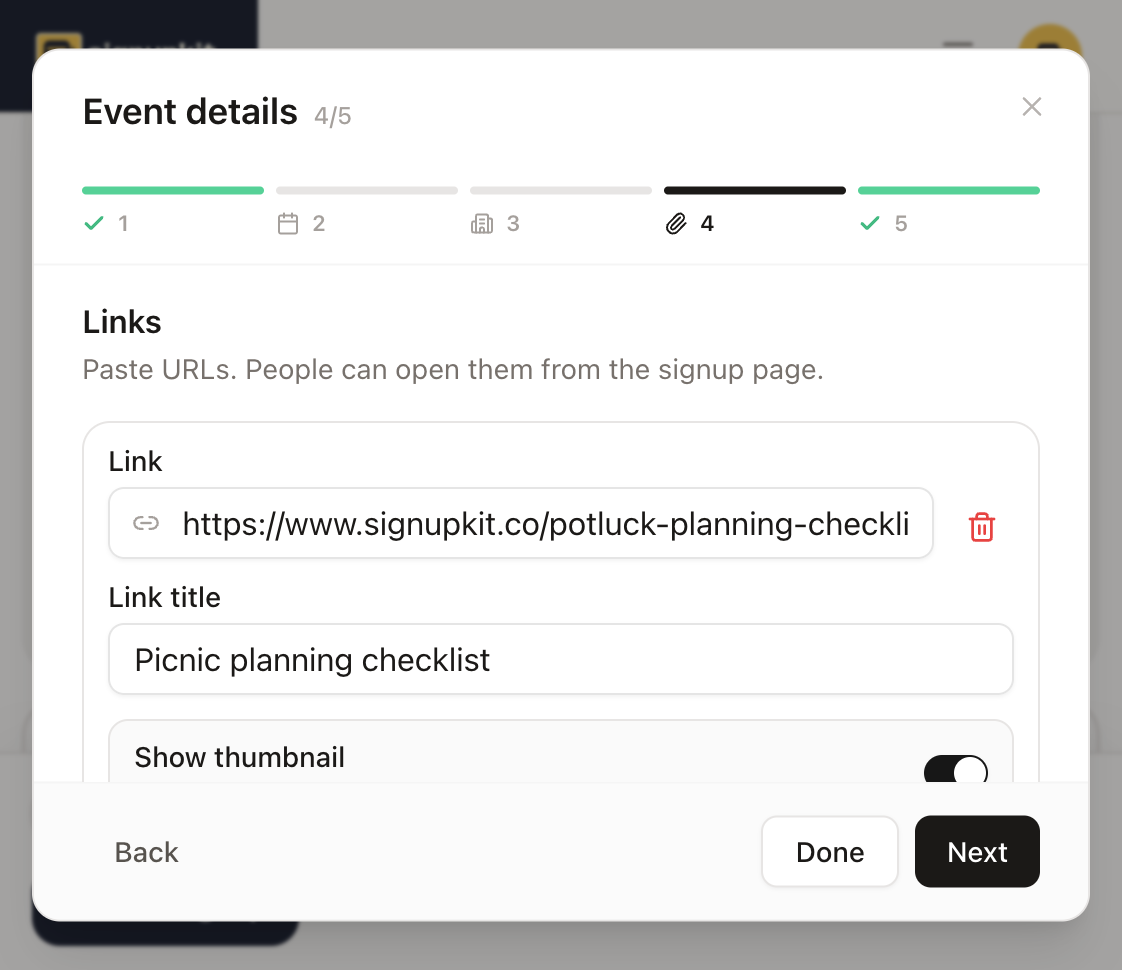 12
12Publish, then share the link
Publish signup is in the footer. Publishing gives the sheet a public address. Until you do that, only you can see the draft. The picnic in these steps is published at signupkit.co/44I2x. Send that link. People claim a job or tap “I’m attending” without making an account.
 1
1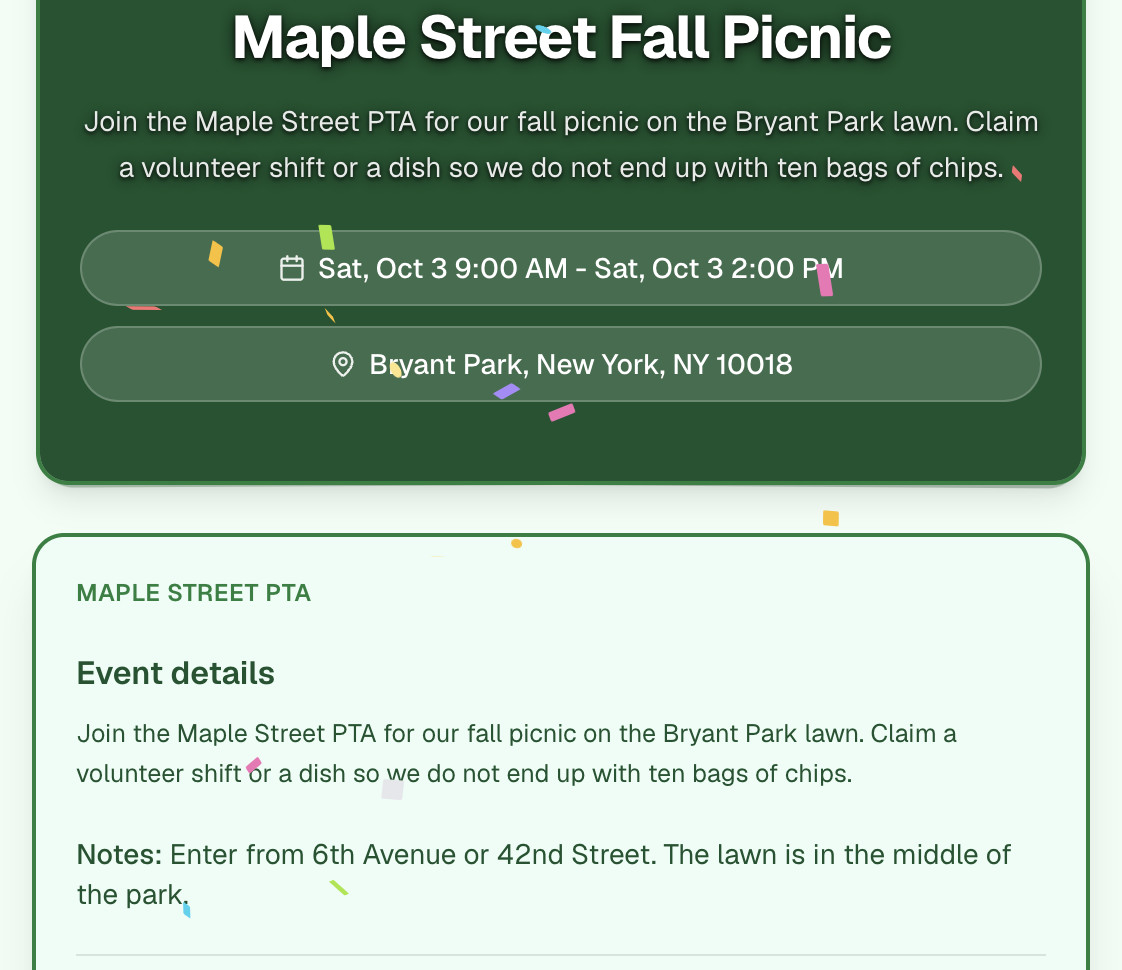 1
1The rest of the builder
This page is one picnic, from an empty title to a public link. The other guides are about the features themselves: when to use them, and how to add them on any sheet.
- Slots — items, dates, and RSVPs, and when a quantity is the right cap.
- Questions — name, email, and each custom field type.
- Email — confirmations, reminders, and notes that stay off the public page.
- Sharing — public, unlisted, and password-protected pages.
- Style — themes, colors, and effects.
- Documents — files on the page and in the email.
- Tickets — a price on a slot, paid through Stripe.
- Contacts — groups and a CSV of people you already know.
- Messages — an email you send yourself.
- Manage a signup — the roster, export, pause, and duplicate.
- My page — one link for every event you list.
- Plans — free limits, and every paid control.
- Organization — administrators, seats, and reports.