
Slots
A slot is one row people can claim. The rest of the sheet — title, date, location, organizer — describes the event. The slots are the choices.
Which kind to add
The three buttons sit at the top of the slots section. Each one starts a different kind of row.
- Item is something with a limited supply: a dish, a volunteer job, a shift, a donated item. Set the quantity to how many you still need. “Welcome table” with quantity 2 means two people can claim it, then it is full.
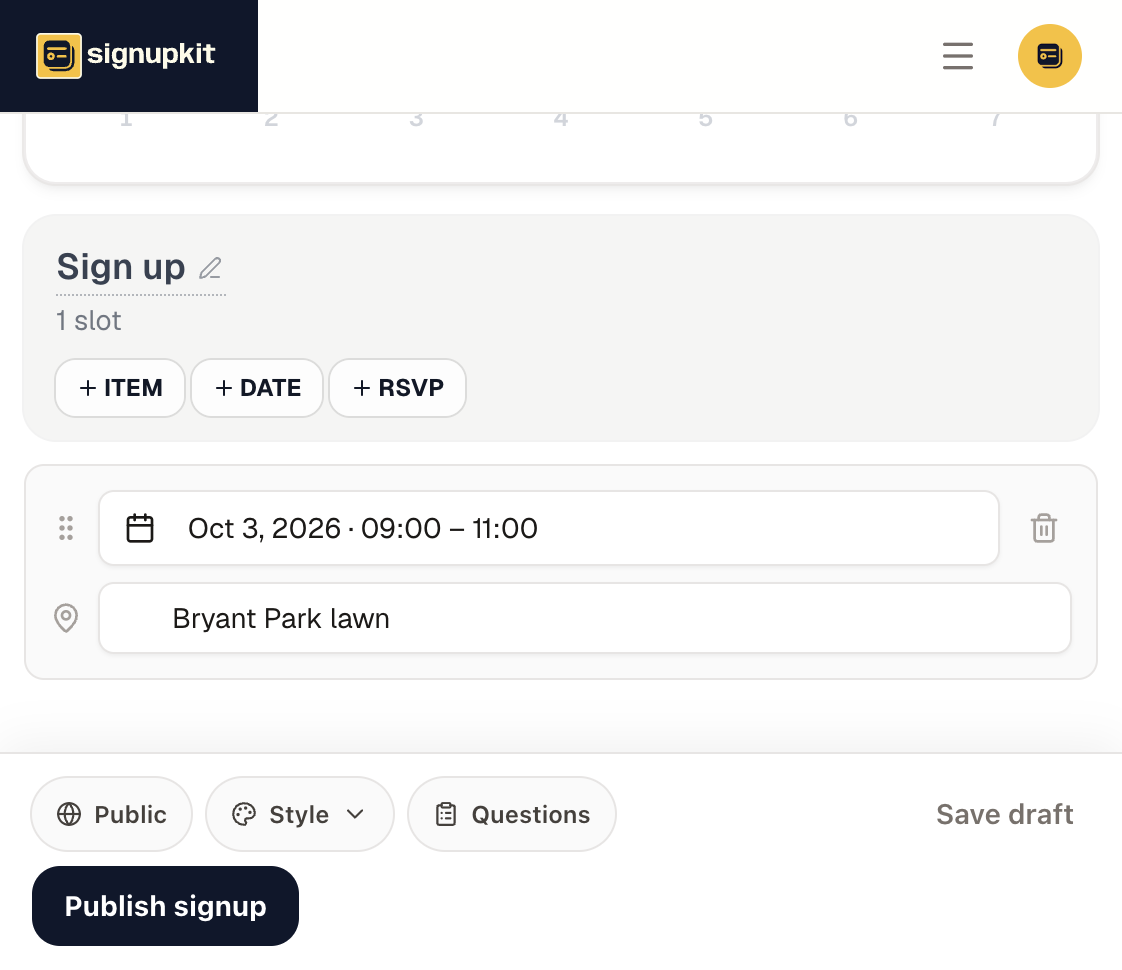
- Date is a time block, not a thing to claim. Use it when the rows under it happen at a particular time: interview slots, concession shifts, a Saturday morning and a Saturday afternoon. One date card covers every item and RSVP that follows it, until the next date card.
- RSVP is a yes or no. Use it when you need a headcount and people are not choosing among jobs. One row titled “I’m attending,” with the quantity set to how many people can come, is the whole RSVP.
A potluck is items. A picnic where you only need a headcount is a single RSVP. A fundraiser that needs both volunteers and a headcount can mix items and an RSVP on the same sheet. Appointments, such as parent-teacher conferences, are one date card per open time, with an item under that card for people to claim. A date card on its own is a heading. Every item under it shares that time until the next date card.
How to add one
On the sheet, above the empty slots area, click + Item, + Date, or + RSVP. A new row appears immediately. Type the name in the row. For an item, the placeholder is “What do you need?” For an RSVP, it starts as “I’m attending.” Change that label if the choice is something else, such as “I can help set up.”
The number next to an item or RSVP is how many people can claim it. Type the number you need. The ∞ control means no cap. On the free plan an unlimited row is blocked, because a free sheet has a fixed number of sign-ups and an open-ended row would make that limit unknowable while you are still building.
A date card starts as “Select date range.” Open it, pick the day and the start and end time, and add a location on that card if this block happens somewhere different from the event. The card then reads like “Oct 3, 2026 · 09:00 – 11:00.” Drag the handle on a row to change the order. Rows under a date card inherit that date, time, and location when you save.
“Add description, link, or price” on a row opens the extra fields: a short description, a URL with its own title, a meeting link in the email (paid), and a price. Leave the price alone unless the row is a ticket. The section heading above the buttons can be renamed if “Sign up” is the wrong label for this sheet.
What people see
Guests claim a row from the public page. They do not need an account. A full row stops taking sign-ups. Two settings in Questions & fields change how those rows look:
- Hide slot counts stops guests from seeing how many spots are filled.
- Show who signed up lists each person’s first name and last initial under the row they claimed, plus text answers and quantities. It is off by default. Anyone with the link can read that list.
- Hide past slots is paid. It uses the date card’s time, not the title. You can remove a past row from the page, or leave it visible and marked Closed. Nothing is deleted from your roster.
- Allow a plus-one appears when the sheet has an RSVP. On the free plan that is one guest. A paid plan can set a higher max. Each guest takes a spot.
The picnic walkthrough in Create a signup sheet shows these buttons on a real sheet, including the date card and the RSVP quantity.